Sheet layers and viewports
Read the guide
Compose a drawing sheet with cropped, scaled views of the scenic model.
Set the sheet and draw the view separately
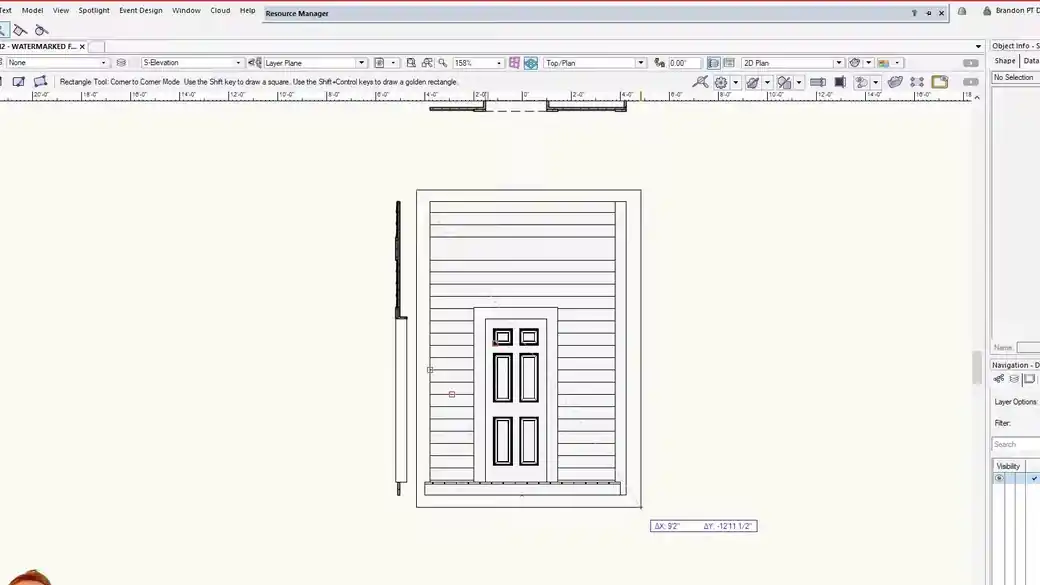
The design layer holds the scenery. The sheet layer is the page on which you compose views of it. Use a viewport crop to show only the part of the model the drawing needs. Check the title block against the sheet size.
Change the scale on the viewport
Select the viewport and choose its scale in Object Info when a view is too large or small on the sheet. The scenery in the model stays at its actual size. Check the drawing title, scale label, and linework before exporting.
Work through it
- Set the sheet size and place a title block. Decide which drawing gets the most space and leave room for the drawing title, scale, and notes.
- From the design layer, frame the model with a crop and create a viewport on the sheet. Choose the view direction and scale in the viewport’s Object Info settings.
- Add a second viewport for a different view or scale, then align the labels and update both views. Read the complete sheet at the intended print size.
Quick reference
- Design layer
- The place to draw and model the actual scenery. Keep objects at real-world dimensions.
- Sheet layer
- The page where you decide which views the reader needs and how to lay them out.
- Viewport
- A view of the model with its own crop, scale, and visibility settings. Update it when the model changes.
Put it into a scenic drawing
Use most of the sheet for the scenic elevation. Place a larger-scale trim detail to its right and use a detail marker to show which location it describes.
What to check
If a viewport shows part of the drawing you did not intend, edit its crop. If the correct view is simply too large, change the viewport scale without scaling the model.