Understanding design layers
Read the guide
Separate scenery and architecture while keeping the references you need visible as you draw.
Separate the work you edit from the work you reference
A theatre plan and the scenery can occupy separate design layers. Assign the drawing to the right layer before you begin. Check layer order and elevation when objects appear in unexpected places.
Choose whether other layers should snap
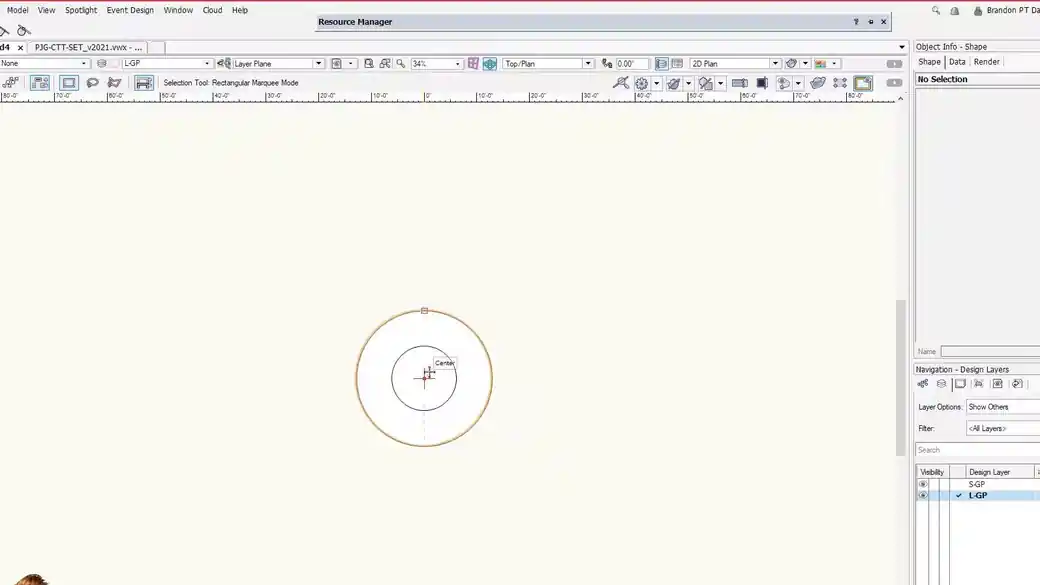
Showing another layer makes it visible. A layer option that allows snapping lets you use its geometry as a reference. The video compares these behaviors with the architecture visible behind the active drawing.
Work through it
- Put the theatre reference on an architecture layer and the scenery you are drawing on a separate design layer. Use a common origin so the plans align.
- Set the scenery layer active. Compare Show Others, Gray Others, and the snapping options using a wall corner or centerline on the architecture layer.
- Check the Z elevation before modeling scenery on a second layer. A layer can share the same plan position and still place its objects at a different height in 3D.
Quick reference
- Active layer
- The layer where new geometry goes. Check its name before drawing over a reference.
- Gray others
- Lets you see inactive layers less prominently. Use it when a full-strength drawing obscures the active work.
- Snap to others
- Lets you align to eligible geometry on other layers. Check the layer option and snap controls together.
Put it into a scenic drawing
Snap the front of a platform to a stage reference line while keeping the architecture out of the selection set. Gray the theatre layer if it makes the scenery easier to pick out.
What to check
If a visible reference will not snap, check the layer option and the relevant snap setting. If objects seem to float, compare the design-layer elevations.