Drawing trim profiles
Read the guide
Trace a molding profile with the Polyline tool, size it to the reference, and save it for reuse.
Begin with a reliable profile
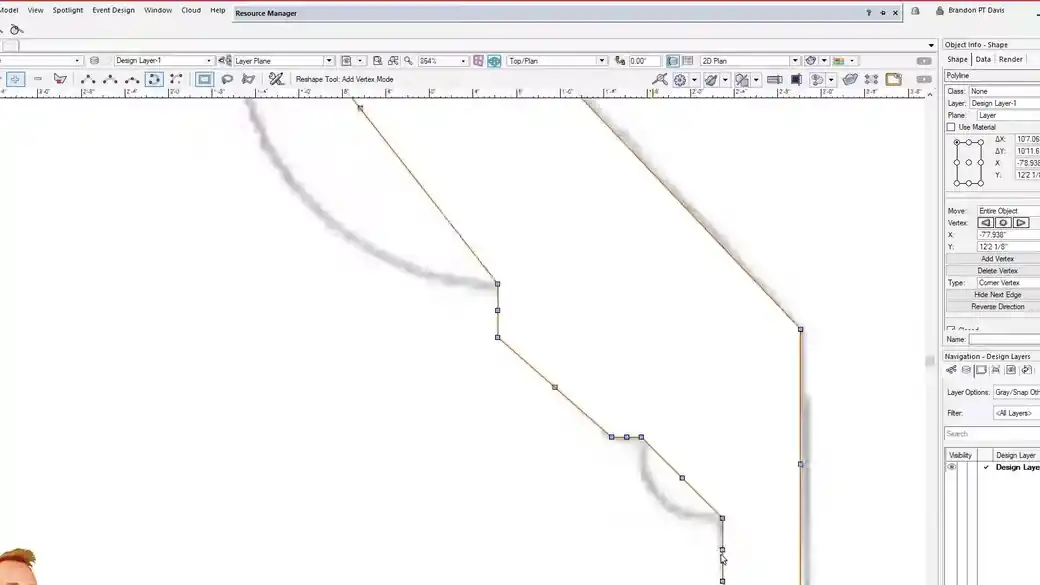
Check the manufacturer’s section or a measured drawing first. Trace the outline with the Polyline tool and choose corner or curve modes where the profile changes. Use the reference dimensions to size the traced shape.
Decide how the profile should be reused
This recording shows a profile saved so it arrives as editable geometry when placed. That helps when one molding has to be adapted for a particular piece. Keep the original section and its dimensions with the shared resource.
Work through it
- Import or place a measured profile and verify one known dimension. Keep the reference underneath and draw the new outline as a Polyline.
- Use corner vertices for sharp breaks and a curve mode for the ogee. Use as few points as you can while keeping the shape accurate so the profile remains easy to edit.
- Set the final width and height, check that the outline closes, and save it as a named resource. Record the source or measured size so the next person can verify it.
Quick reference
- Corner vertex
- Holds a sharp transition. Use it at a flat edge or where two surfaces meet abruptly.
- Curved vertex
- Carries a smoother transition. Use it to describe a cove or ogee with fewer points.
- Closed profile
- Creates a bounded area for an extrusion or other solid operation. Verify the seam before you reuse it.
Put it into a scenic drawing
Trace a 2¾-inch casing profile from a catalog section. Save the finished section once, then use it to make related trim pieces around several openings.
What to check
If the shape will not extrude, zoom into the seam and verify the polyline is closed. Check that the scale of the trace matches the manufacturer’s measurement.